Hi everyone ![]()
Today, let’s talk about how to run n8n locally on your own machine.
n8n is a popular open-source automation platform. It supports integration with many tools and services, is highly flexible, and works well for building automation workflows, internal tools, or AI-powered pipelines.
Besides the official cloud version, n8n also allows you to self-host — and for many individuals or small teams, this is actually the better choice.
Why not just use n8n Cloud?
I’ve tried the official cloud version myself. The biggest reason I decided to self-host is simple:
It’s expensive.
The cloud plan starts at over $20 per month, which can be unnecessary if you’re just getting started, experimenting, or building internal workflows. Running n8n locally gives you the same core functionality without the recurring cost.
Self-hosting also gives you:
- Full control over your environment
- No execution limits
- Easier debugging and customization
That’s why in this article, I’ll show you how to set up n8n locally in about 5 minutes, so you can start building automations right away.
What We’ll Do in This Guide
This guide consists of three simple steps:
- Install Docker
- Install n8n
- Run n8n locally
Just follow along step by step.
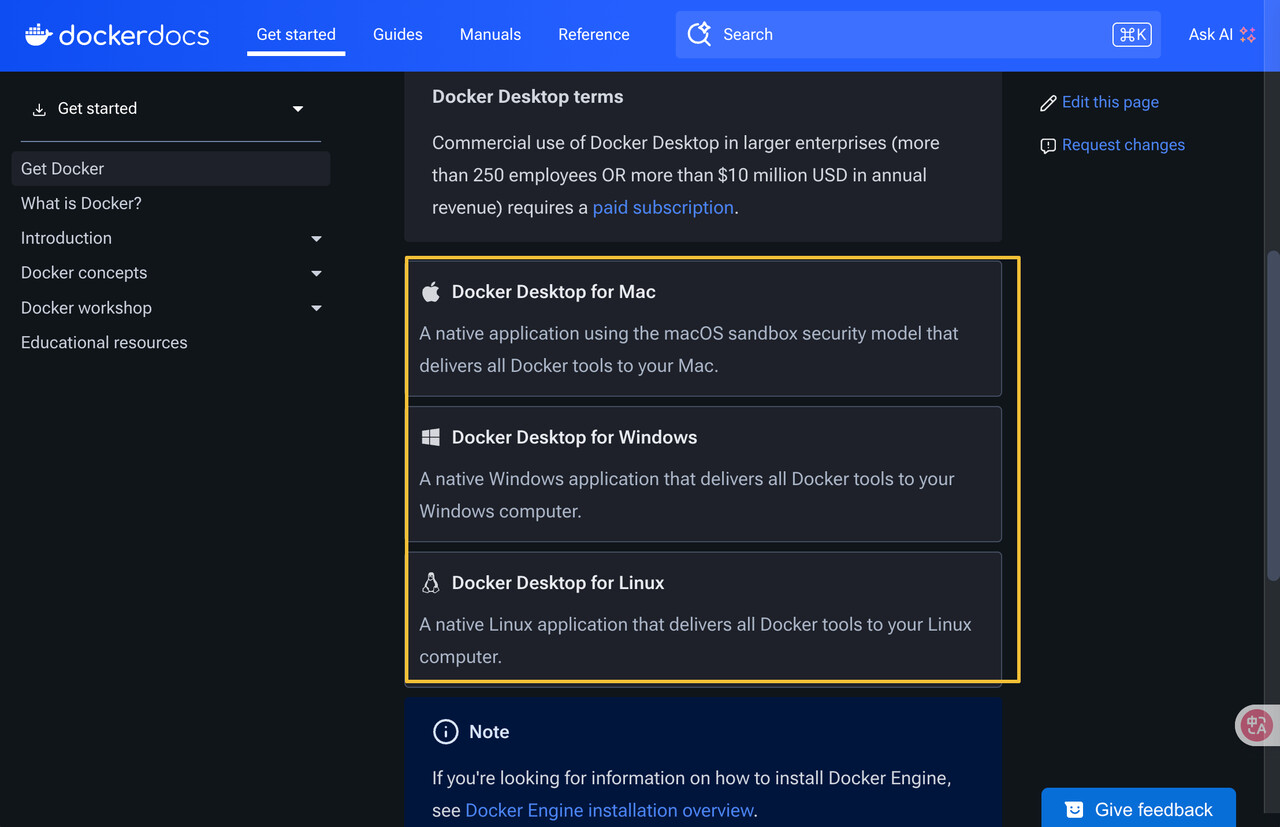
Docker Installation
First, install Docker.
Visit the official Docker site:
Choose the correct version based on your operating system.
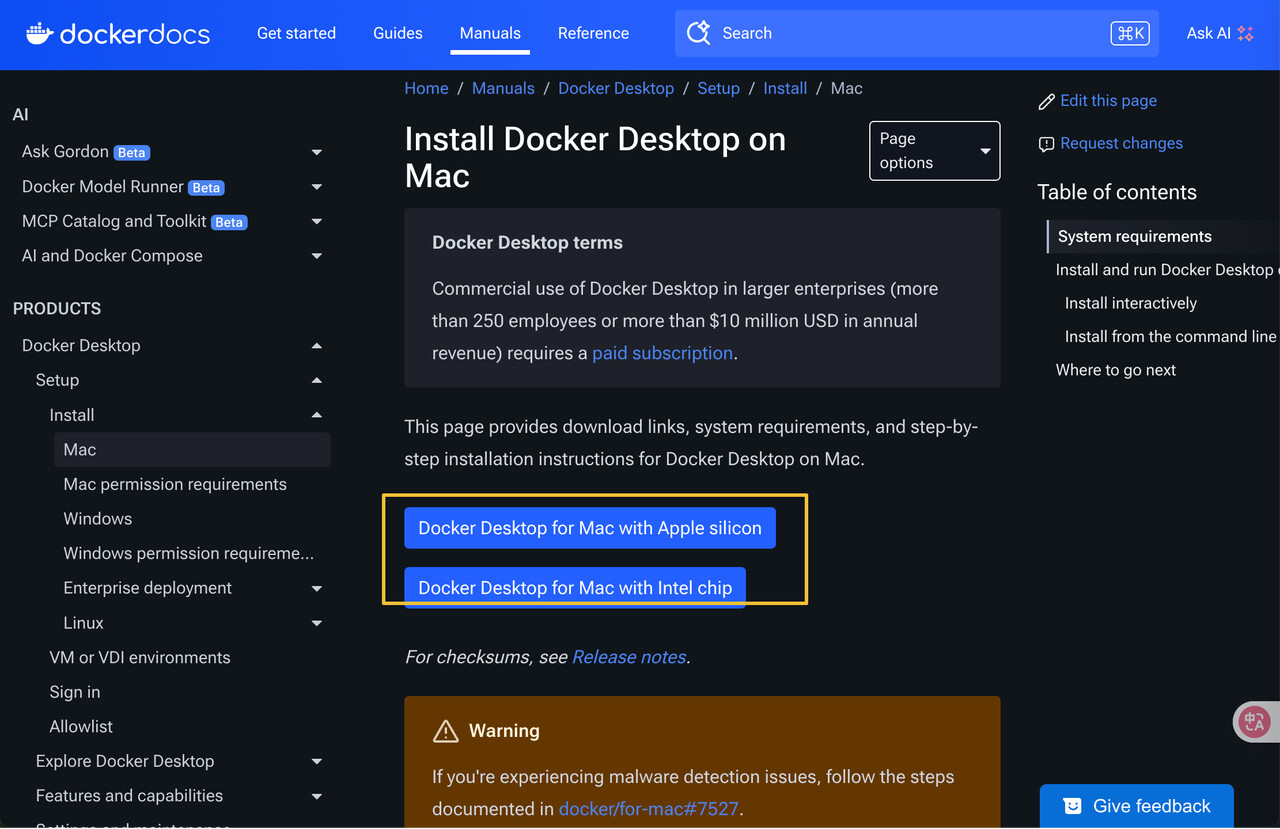
For macOS:
- If you’re using Apple Silicon (M1 / M2 / M3), choose Docker Desktop for Mac with Apple Silicon
- If you’re using an Intel-based Mac, choose Docker Desktop for Mac with Intel chip
Once Docker is installed and running, you’re ready for the next step.
Install and Run n8n
Before proceeding with this step, make sure Docker Desktop is running.
Open a terminal (on Windows, press Ctrl + R, type cmd, and press Enter; on macOS, open the Terminal app), then enter the following two commands separately:
docker volume create n8n_data
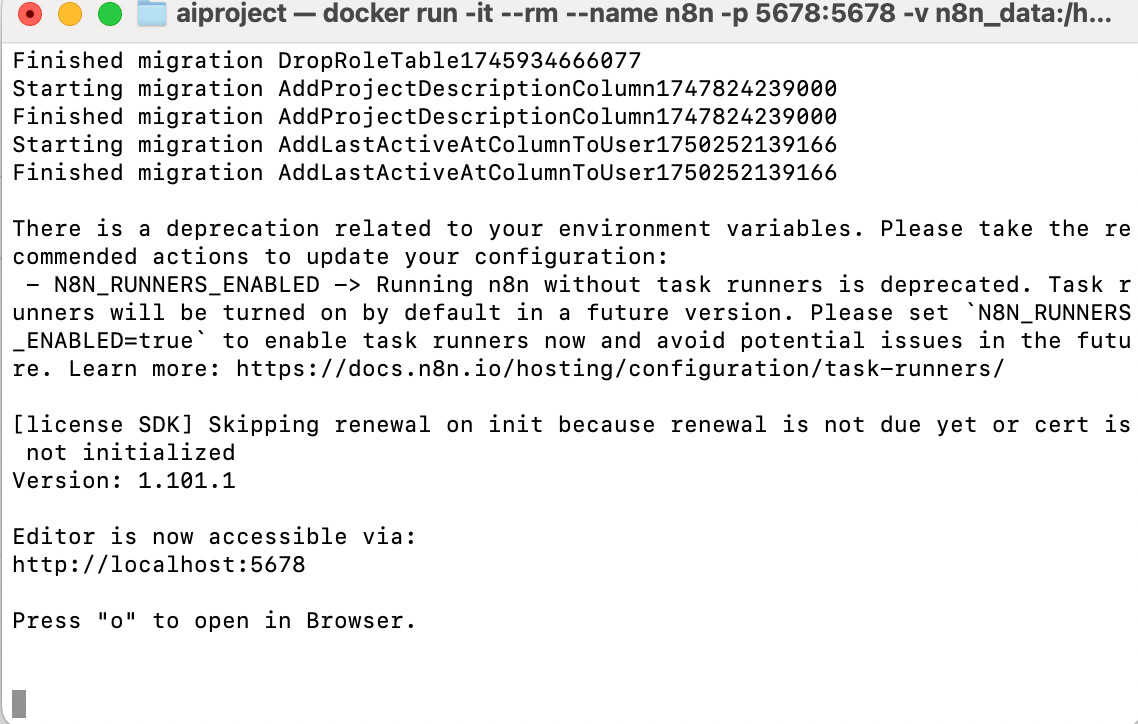
docker run -it --rm --name n8n -p 5678:5678 -v n8n_data:/home/node/.n8n docker.n8n.io/n8nio/n8n
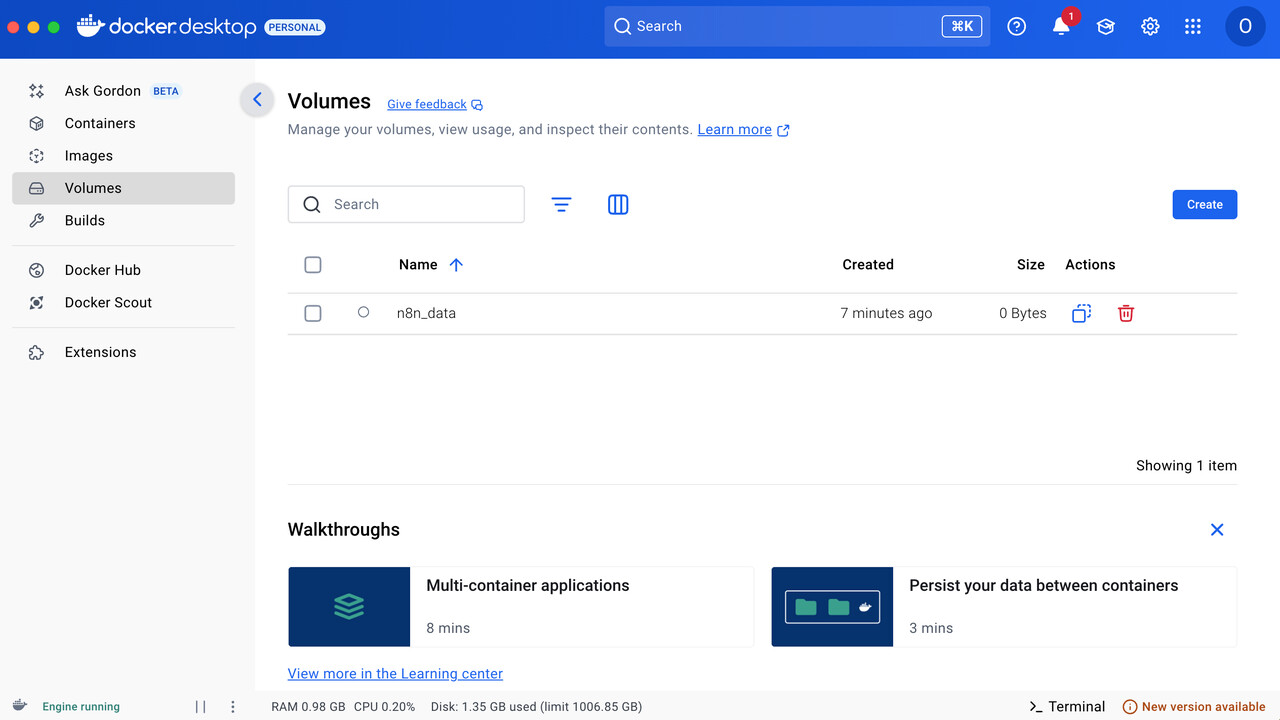
After the commands finish running, the result will look like this:
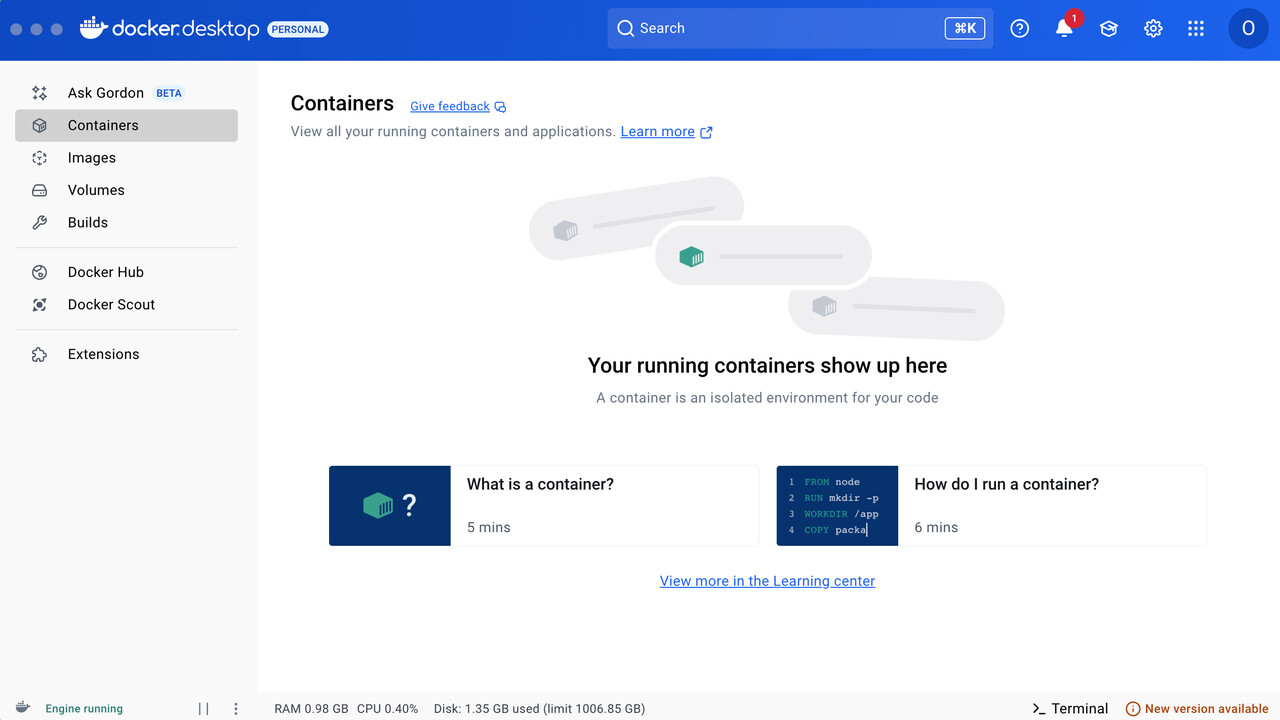
In Docker Desktop’s Volumes section, you can see the volume created using the docker volume command, which is used to store data generated locally.
Notice:
If you see the following message when running the command:
Cannot connect to the Docker daemon at unix:xxxxxxxxx Is the docker daemon running?
Check whether Docker Desktop is running.
After the container starts, open your browser and visit:
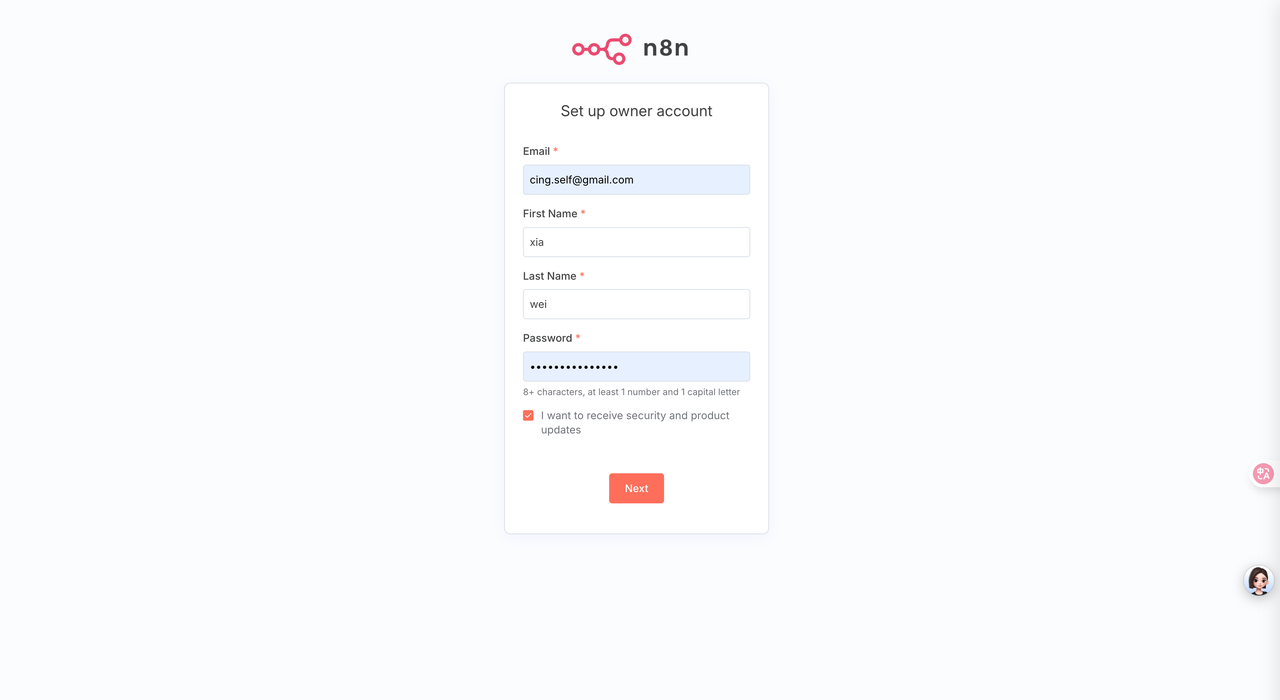
After opening it, you’ll see this interface. You can fill in the information freely to log in, but make sure the email address is valid.
After logging in, you can also choose any option in the form. Finally, click Get started.
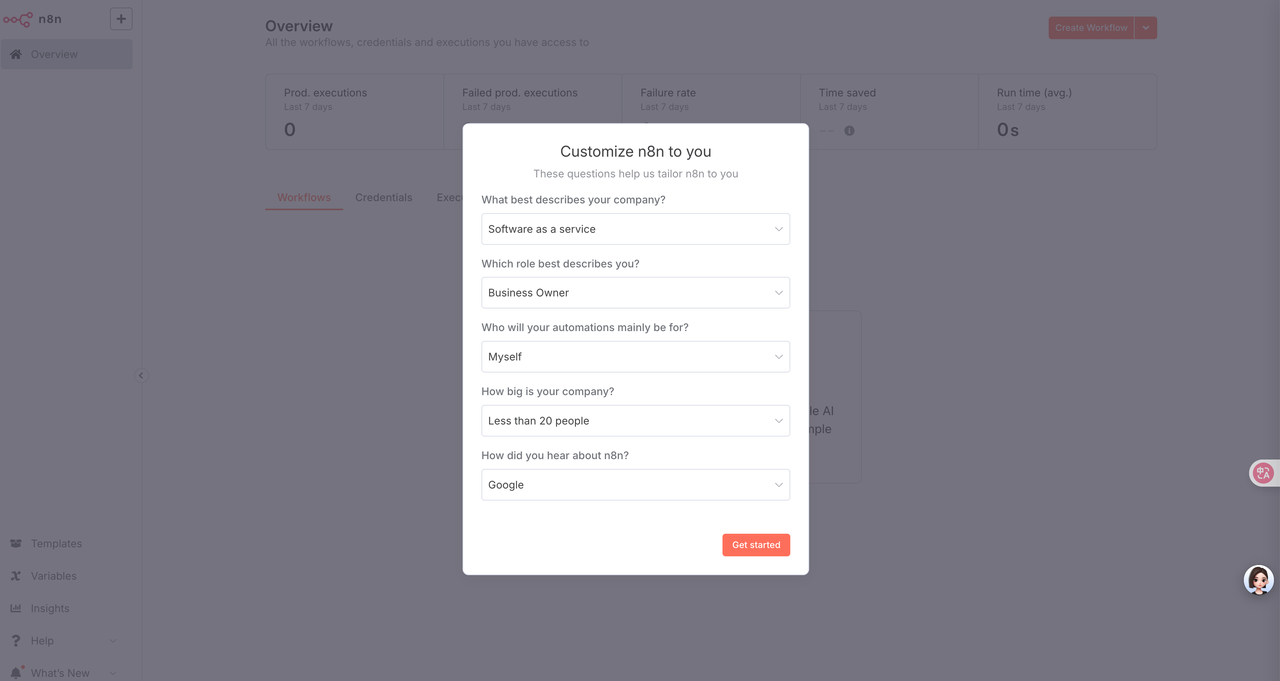
After clicking Get started, there will be a step to obtain a license key. Just click to get it.
At this point, n8n has been successfully set up locally.
Next Steps
With n8n running locally, you can start:
- Creating automation workflows
- Connecting APIs and third-party tools
- Building internal systems or AI-driven automations
If you have any questions, feel free to reach out.
Once your n8n setup is complete, you can publish it to Mulerun, share your workflows with others, and even unlock your first stream of income.